
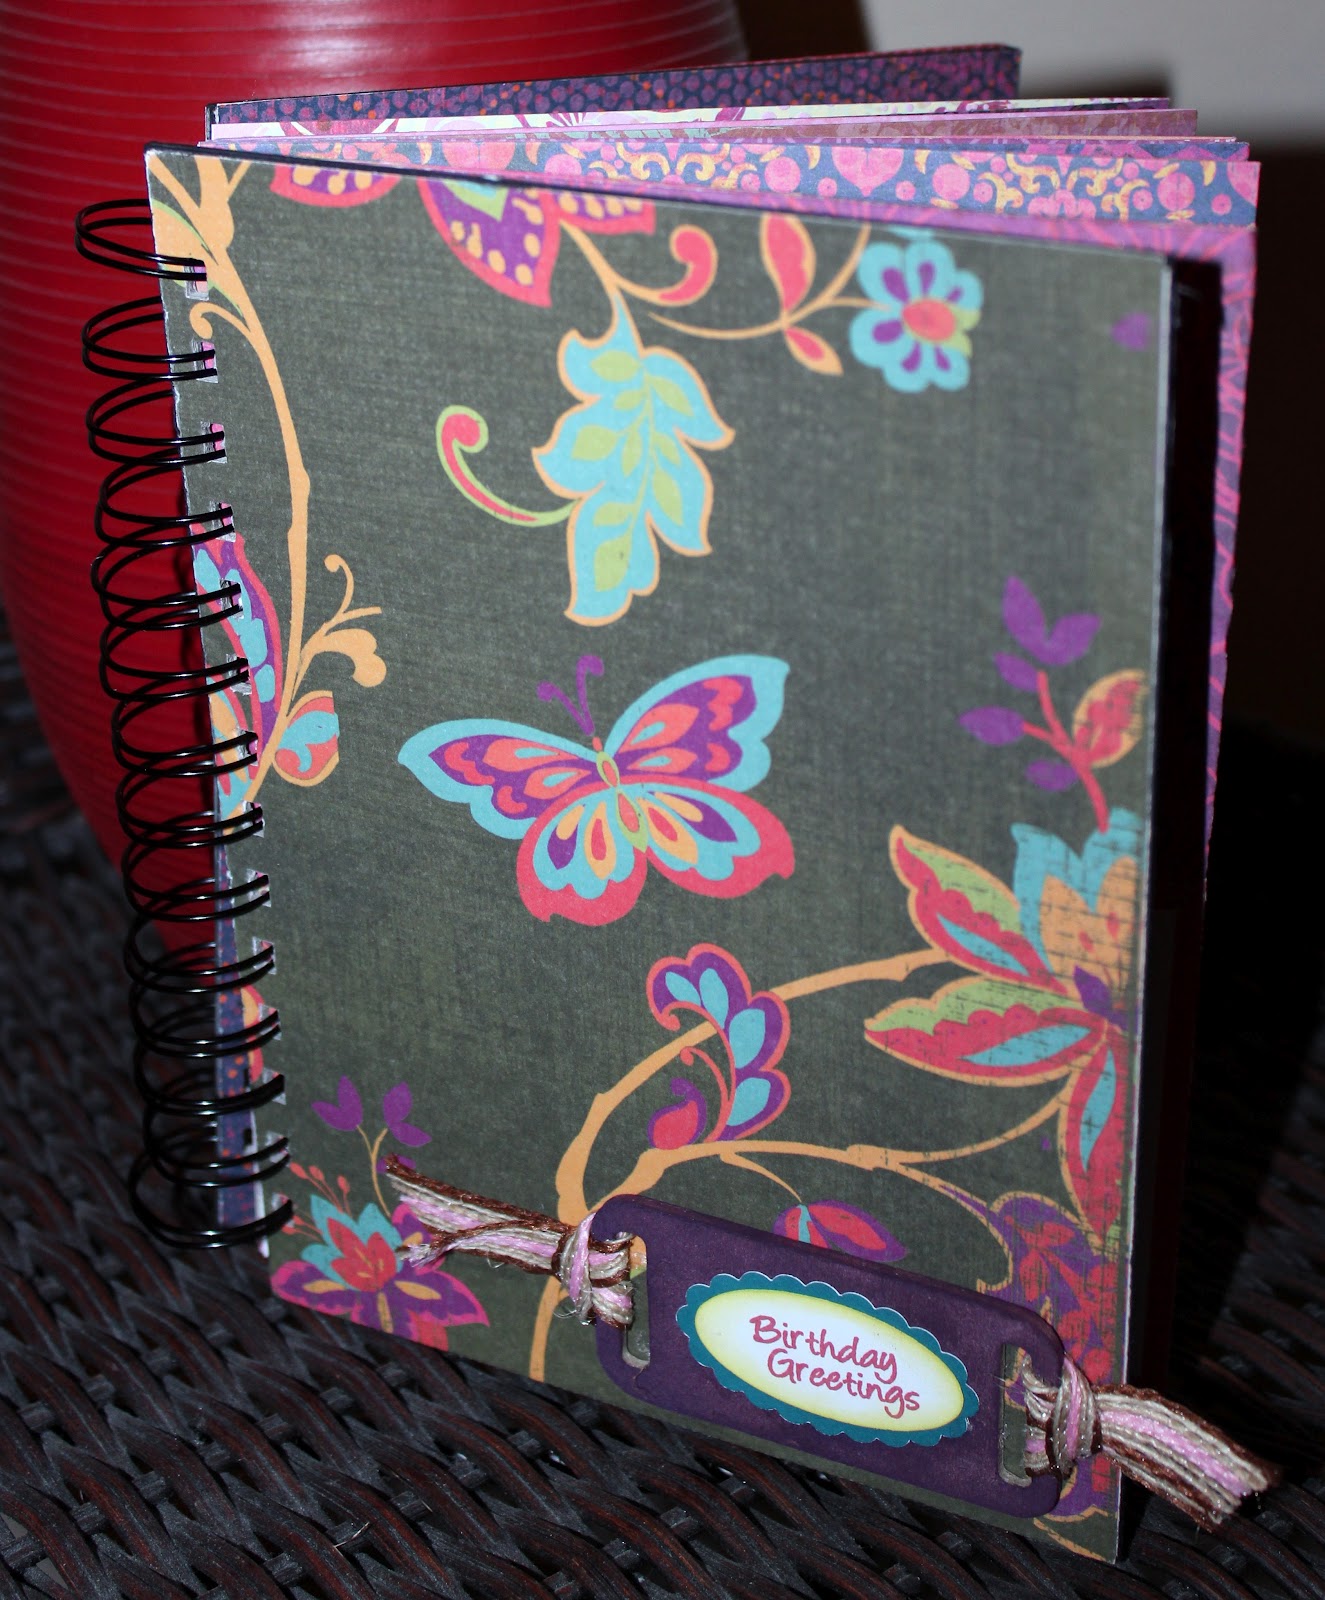
I made a project that I think is SO useful and makes a great gift! I used the Jaded Blossom stamp set Make a Wish for the cover sentiment. You'll spot other Jaded Blossom stamps on the cards inside the binder. It is a binder that has 12 pockets for cards, tags, envelopes, recipe cards or whatever....I decided to make mine for Birthday Cards and put a monthly breakdown on the 1/2 pocket on each page to represent all the months. What a great way to keep track of all your birthdays. I am going to make one for lose recipe cards next. Then maybe one for notes from my honey (I know....sappy). Oh, this would also be a good engagement gift to help the bride to keep up with notes and receipts during wedding planning and then she can take it on her honeymoon to keep up with fun stuff she picks up....Well, the possibilities are endless. I got this project idea from my good friend, Kim from Bling Dazzler....I got to


I hope you enjoyed my projects and I appreciate all of the Jaded Blossom customers stopping by to say hi or Hey, Y'all! Now, head back over to Jaded Blossom to check out the rest of the line up and the great prizes they will be giving away!
Directions: This is super fast and easy....take 6 sheets of double sided 12 x 12 card stock. Score at 6 inches vertical and then 4 inches from the bottom horizontally. Fold the 4 inch section up to make a pocket and then fold the item in to make a page front and back. I put adhesive between the two pages at the very bottom to make an 8 inch pocket from the top. You don't have to adhere the open side as it will be bound closed when you bind the book. I cut two pieces of chipboard 8 x 6 to make the covers. Then after I decorated the covers (and added a postage pocket to the inside front cover) I bound it all together with my Bind it All and 1 inch O wires!

